When it comes to achieving a flawless paint job, the work that happens before the first coat of paint is applied is often more critical than the painting itself. Wall preparation and repair are essential steps that can make or break the overall look and longevity of your project. In this article, we’ll explore in detail what is involved in preparing and repairing walls, why these steps are so important, and how they contribute to a durable and aesthetically pleasing finish.
The Foundation of a Great Paint Job
Imagine constructing a building without a solid foundation. No matter how impressive the design or how high-quality the materials, the structure is doomed to face problems if the base isn’t stable. The same principle applies to painting. The wall is the canvas for your paint, and if it isn’t properly prepared, even the best paint won’t adhere correctly or last as long as it should.
Wall preparation involves a series of meticulous tasks designed to ensure the surface is clean, smooth, and free from defects that could undermine the finish. When done correctly, this process not only enhances the beauty of the paint job but also protects the wall and prolongs the life of the paint.
Key Elements of Wall Preparation
The process of wall preparation can be broken down into several key stages. Each step plays a crucial role in ensuring the final result is both attractive and long-lasting.
1. Thorough Inspection
Before any cleaning or repair work begins, a comprehensive inspection of the wall is essential. During this stage, the following should be examined:
- Surface Condition: Look for signs of wear, such as cracks, holes, and areas where the old paint may be peeling or flaking.
- Moisture Issues: Identify any damp patches or water damage, which could indicate underlying problems like leaks or poor ventilation.
- Mold and Mildew: Especially in areas like bathrooms or kitchens, check for mold or mildew growth that could compromise both the paint and the indoor air quality.
- Texture Irregularities: Identify uneven textures or imperfections that might need sanding or filling.
This initial inspection not only helps in planning the work required but also prevents surprises that might complicate the painting process later on.
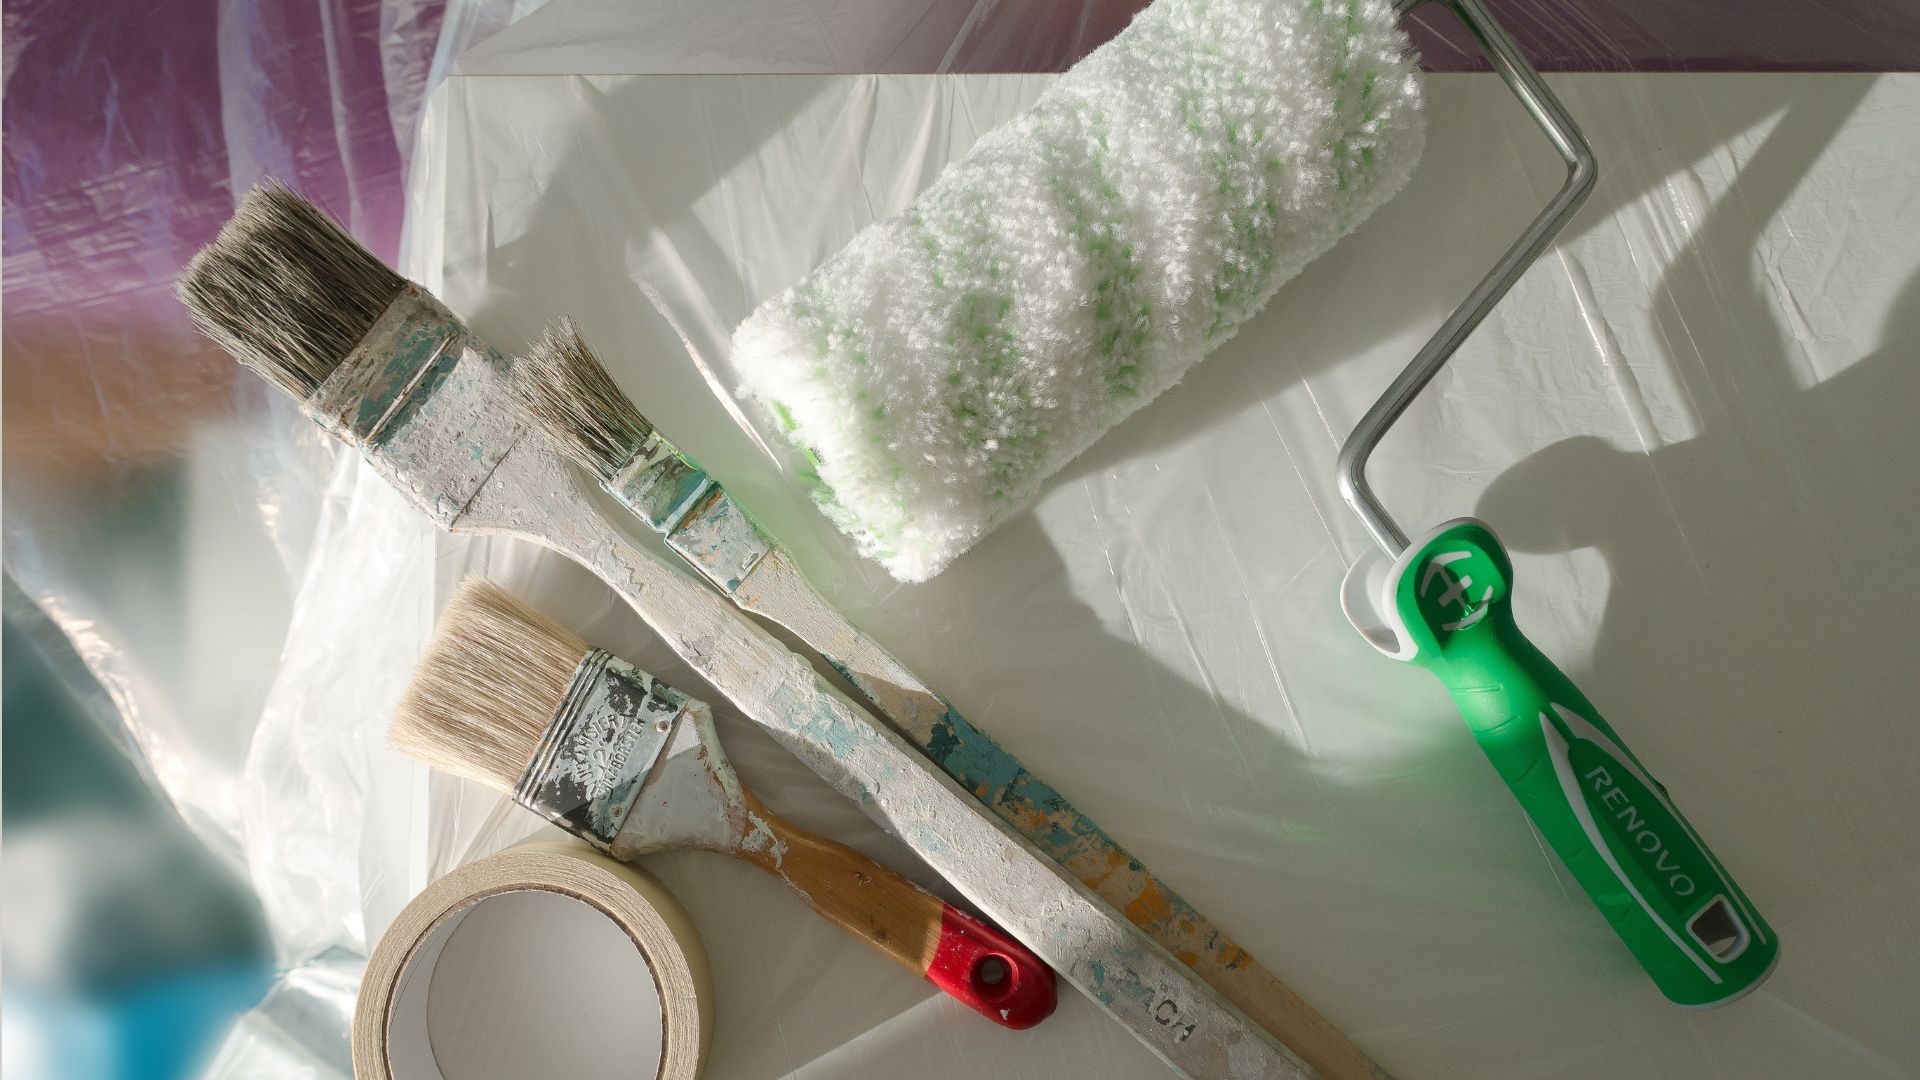
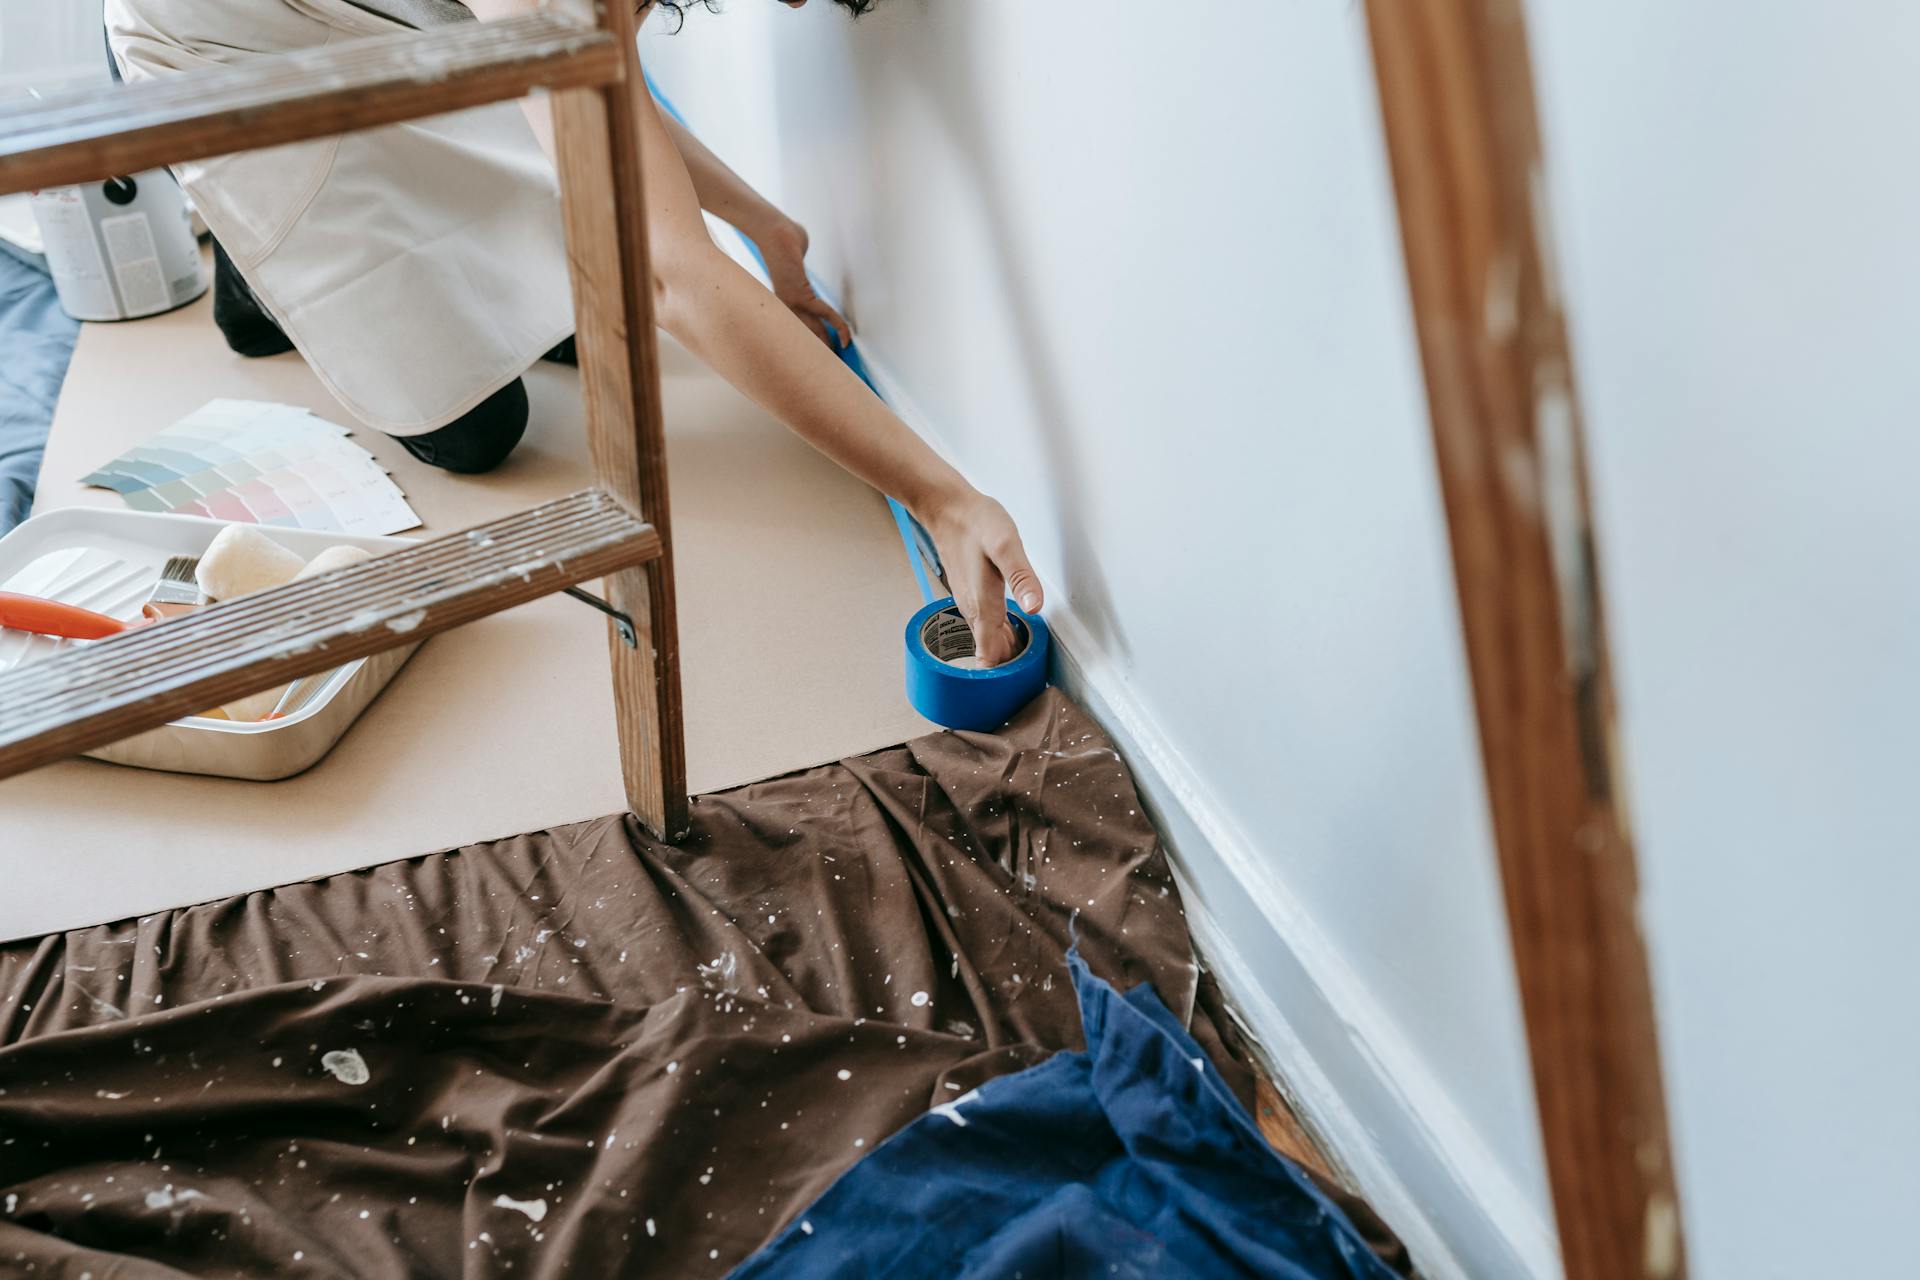
2. Cleaning the Surface
A clean wall is fundamental to successful painting. Even small amounts of dust, grease, or other contaminants can prevent the paint from adhering properly. Cleaning typically involves several steps:
- Dust Removal: Start by dusting the wall with a microfiber cloth or using a vacuum with a brush attachment to remove loose dirt and debris.
- Washing: For walls that have accumulated grime or grease, use a mild detergent mixed with water to gently wash the surface. In kitchens and bathrooms, a degreaser may be necessary to tackle stubborn residues.
- Rinsing and Drying: After washing, rinse the wall with clean water to remove any soap residue and allow it to dry completely. This step is vital because moisture can interfere with the adhesion of both primer and paint.
3. Repairing Imperfections
No wall is perfect, and most surfaces have some level of damage that needs attention. Repairing these imperfections ensures a smooth finish when the paint is applied. The repair process generally includes:
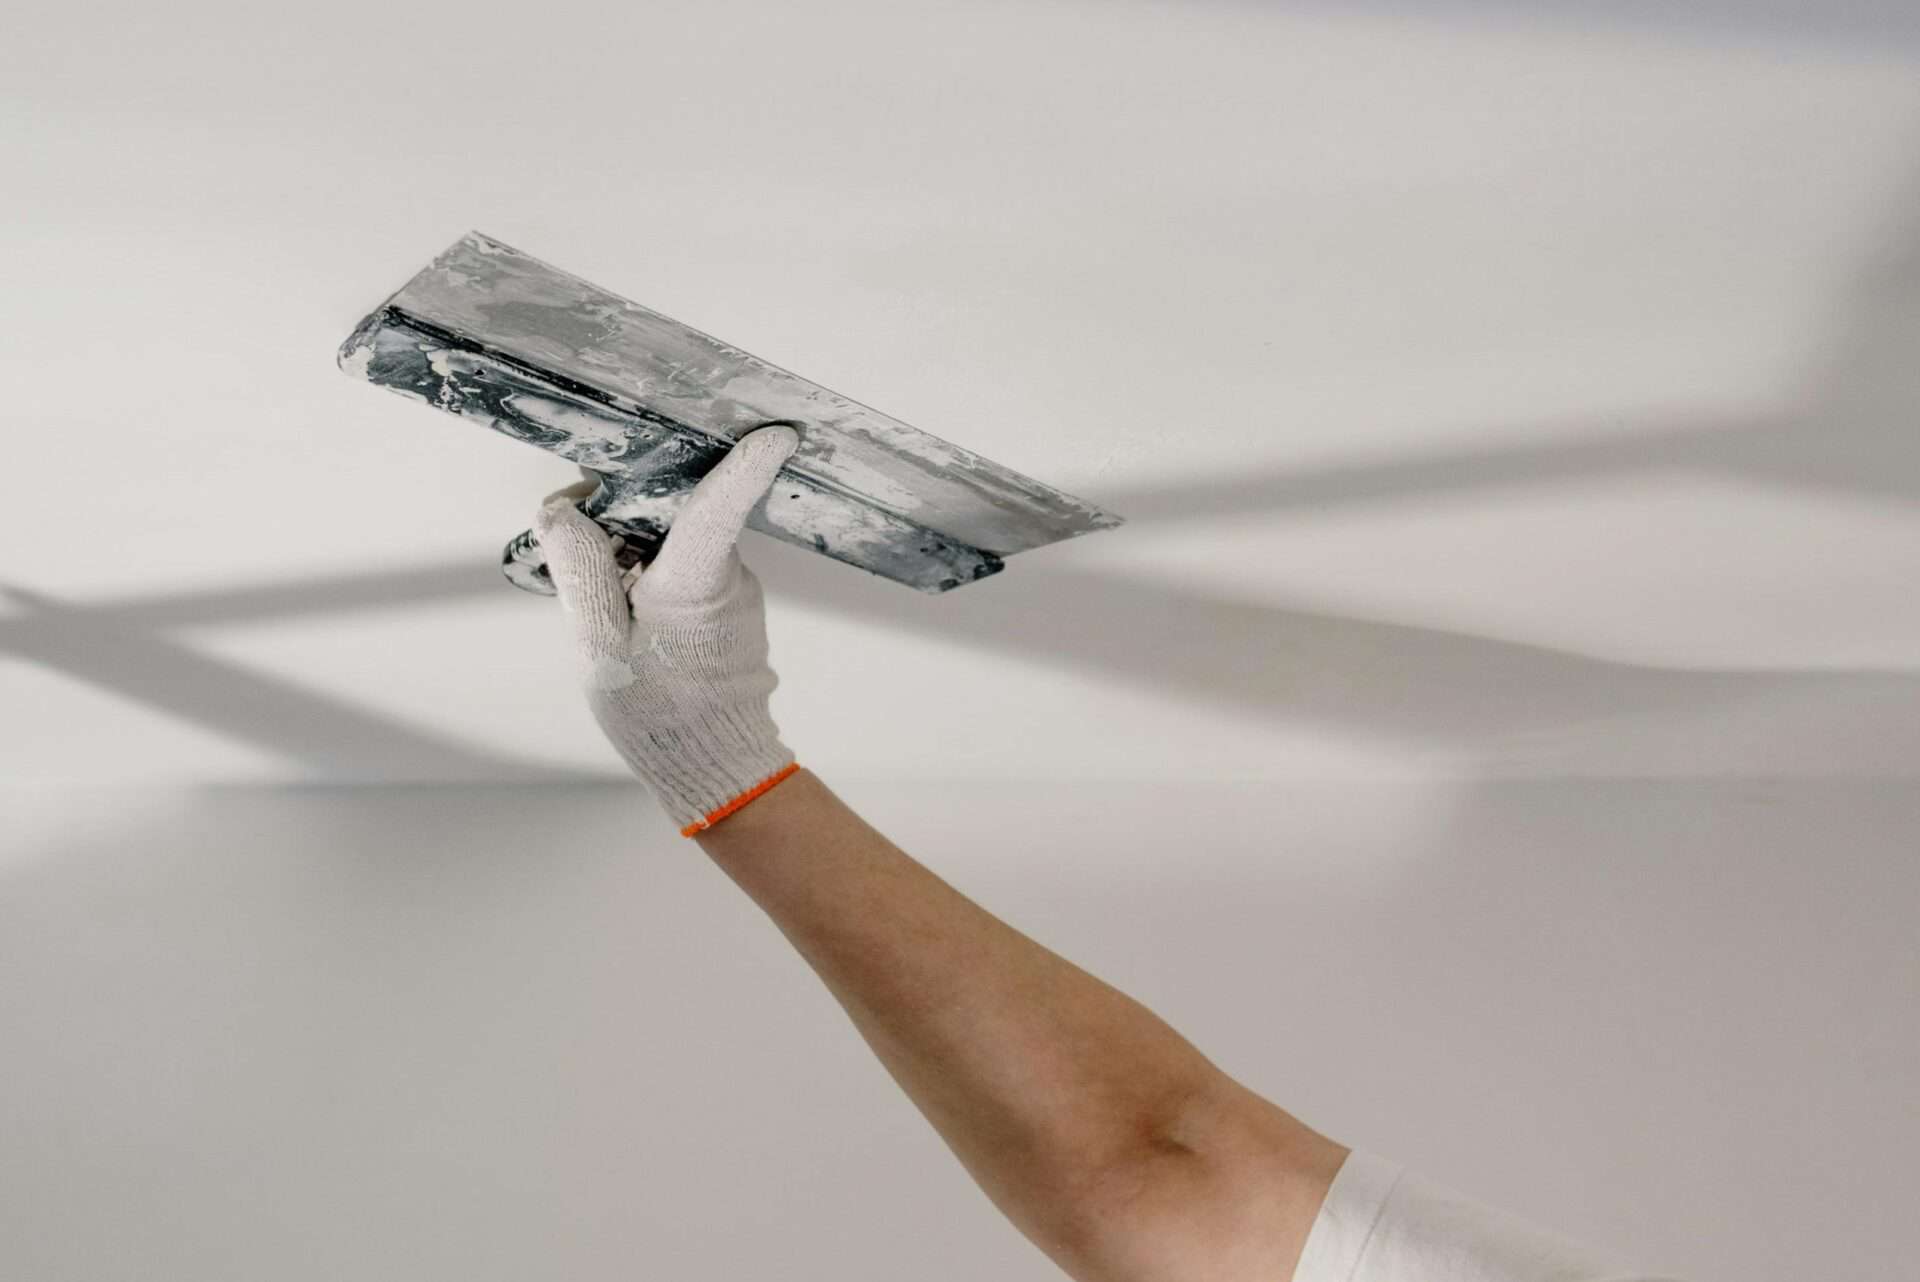
- Patching Holes and Cracks: Use spackle or joint compound to fill in small holes and cracks. For larger defects, you might need to apply a patching kit that includes a mesh or backing material to reinforce the area.
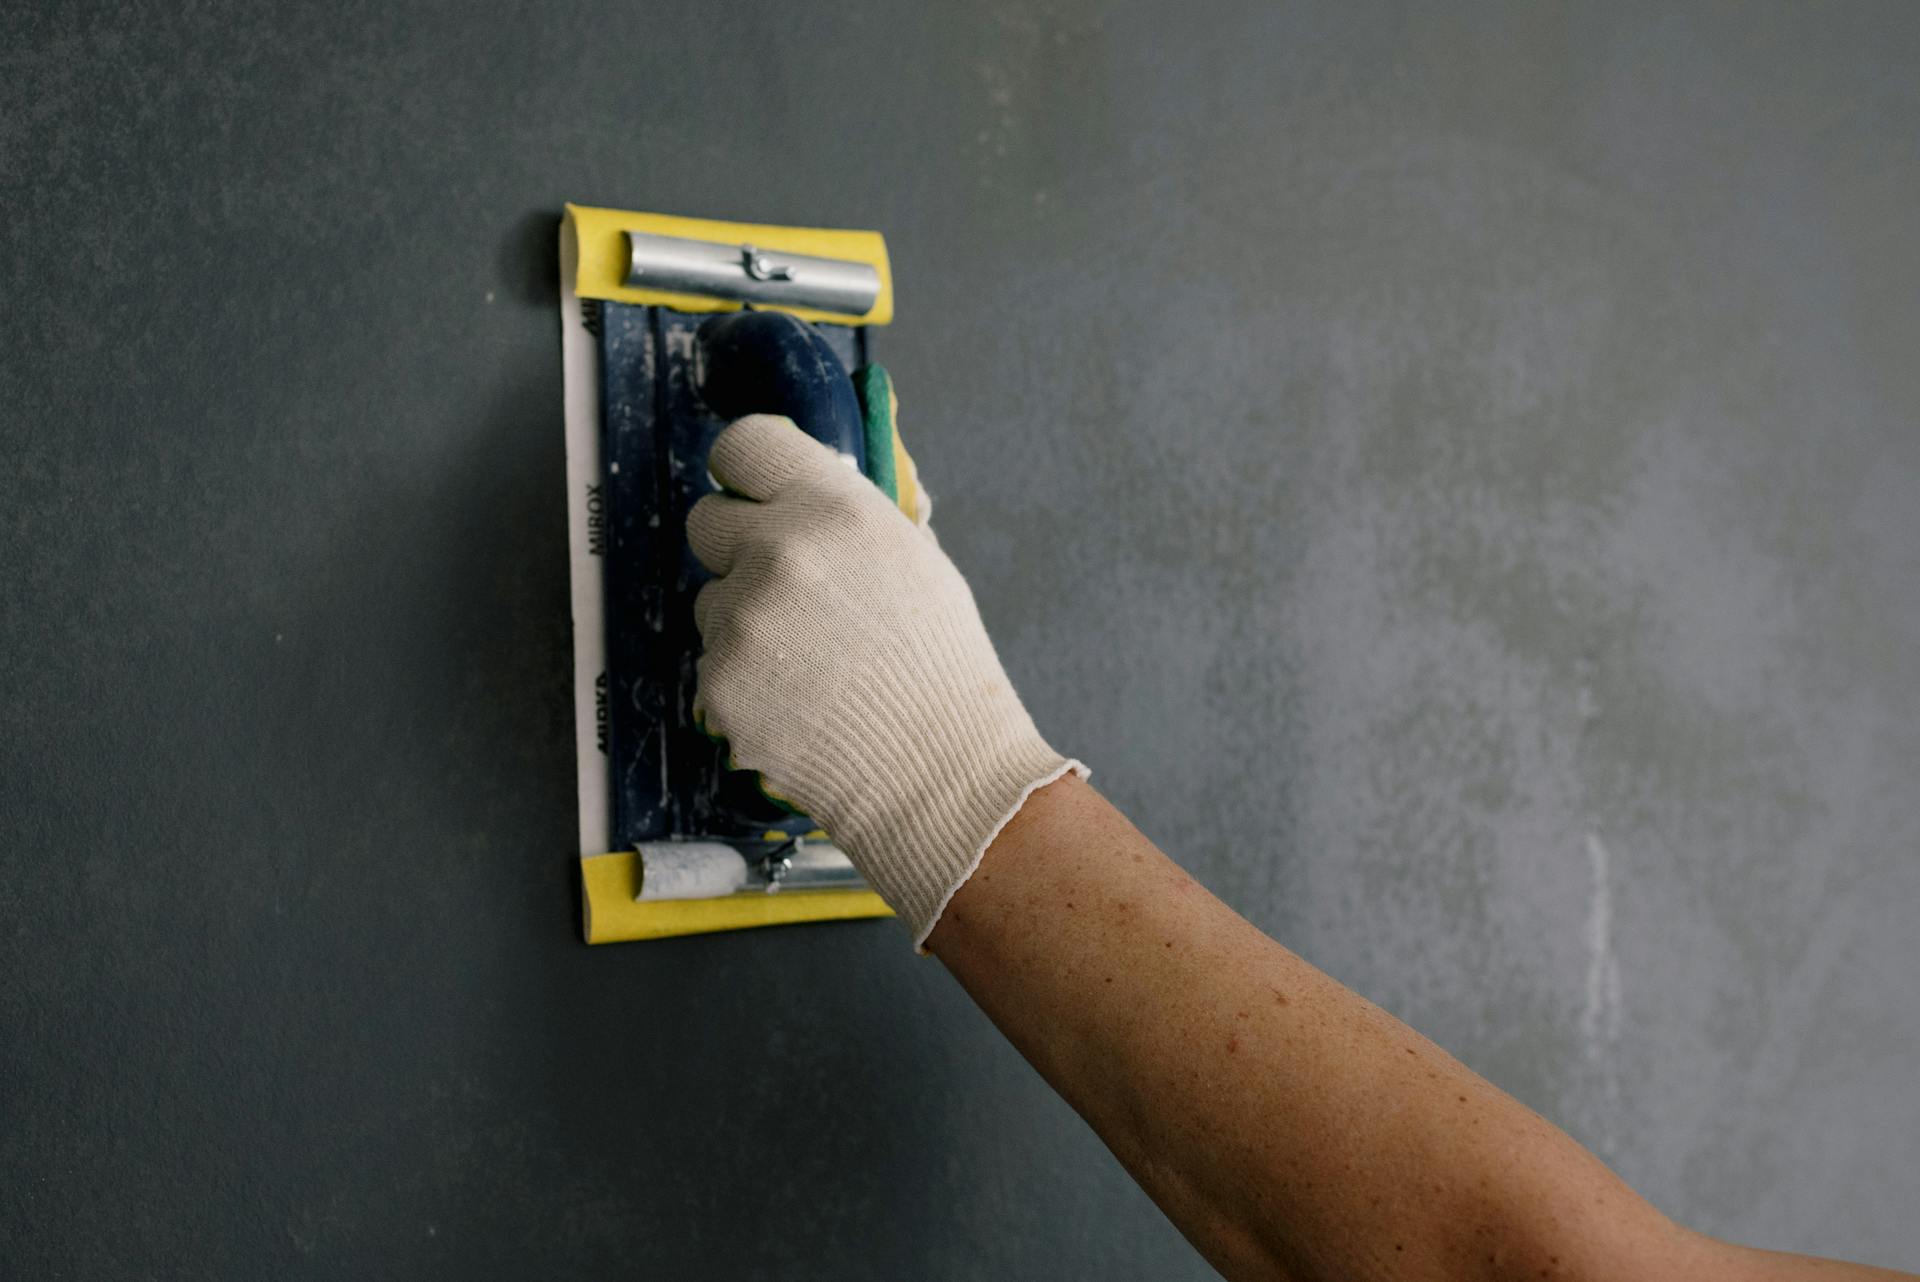
- Sanding: Once the patching material has dried, sand the area until it is flush with the surrounding wall. This not only evens out the surface but also helps create a texture that supports good paint adhesion.
- Caulking: For gaps along baseboards, windows, or door frames, apply caulk to seal the joints. This prevents moisture from seeping behind the walls and causing further damage.
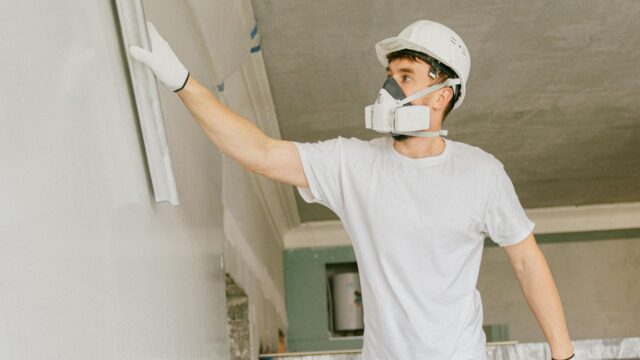
4. Removing Loose Paint and Old Finishes
When repainting, any old or loose paint must be completely removed. This is critical because new paint applied over peeling or flaking surfaces will not adhere well and may quickly deteriorate. Here’s how to manage this step:
- Scraping: Use a putty knife or scraper to gently remove any peeling paint. For stubborn areas, a wire brush can be effective.
- Sanding or Chemical Stripping: Depending on the extent of the old finish, you might choose to sand the entire surface or use a chemical stripper. While chemical strippers can be more efficient for larger areas, they require careful handling and proper ventilation.
5. Priming the Surface
One of the most crucial steps in wall preparation is applying a primer. Primer serves several important functions:
- Enhancing Adhesion: Primer creates a bonding layer that ensures the new paint adheres evenly to the surface.
- Sealing Repairs: By filling in small pores and imperfections, primer creates a uniform surface, making it easier for the paint to cover the wall evenly.
- Color Uniformity: If you’re painting over a dark color or repairing a wall with patches, primer can help ensure that the final color appears consistent and true to the chosen shade.
- Moisture Barrier: In areas prone to moisture, special primers can act as a barrier, protecting the wall from water damage and mold.
Applying primer correctly is as important as the repairs and cleaning that precede it. It must be applied evenly and allowed to dry completely before any paint is added.
The Benefits of Comprehensive Wall Preparation
Investing time in wall preparation and repair might seem labor-intensive, but the benefits far outweigh the effort required. Here are some key advantages:
Longevity of the Paint Job
A well-prepared wall allows the paint to adhere more effectively, significantly extending the life of the finish. This means you won’t need to repaint as frequently, saving both time and money in the long run.
Improved Aesthetics
A smooth, clean surface enhances the appearance of the paint job. Without the distraction of bumps, cracks, or patches of uneven texture, the final result is more visually appealing. This is particularly important in high-visibility areas such as living rooms and hallways.
Cost Efficiency
Though wall preparation might seem like an added expense, it’s actually a cost-saving measure. By ensuring the paint job lasts longer, you reduce the need for repeated maintenance and repairs. This proactive approach helps avoid the more significant costs of dealing with extensive damage later on.
Prevention of Future Issues
Addressing imperfections and repairing damage before painting prevents small issues from becoming larger problems. Cracks and holes that are left unrepaired can expand over time, potentially leading to structural issues or more extensive water damage.
Health and Safety
For homeowners, especially those with children or individuals sensitive to allergens, thorough cleaning during wall preparation helps remove dust, mold, and other pollutants. This results in better indoor air quality and a healthier living environment.
Best Practices for Successful Wall Preparation
While the steps above provide a general guideline, following best practices can ensure even better results. Here are some additional tips for effective wall preparation and repair:
- Plan Ahead: Set aside sufficient time for each step. Rushing through the process can lead to mistakes that affect the final outcome.
- Invest in Quality Tools and Materials: High-quality spackle, sandpaper, primer, and cleaning agents can make a significant difference in the ease and effectiveness of the work.
- Work in Sections: Breaking the wall into manageable sections allows you to focus on small areas and ensures that no part is overlooked.
- Maintain a Clean Workspace: Cover furniture and floors to protect them from dust and debris. A tidy workspace makes the process more efficient and reduces cleanup time.
- Consult Professionals When Necessary: For extensive damage or if you’re unsure about certain repairs, consider consulting a professional. Their expertise can help you achieve a more reliable and lasting result.
How would this apply in real life?
Consider a homeowner preparing a century-old house for repainting. The walls, although structurally sound, had accumulated layers of peeling paint, hidden water damage, and minor cracks from years of wear and tear. By meticulously cleaning, repairing, and priming the walls, the homeowner was able to transform the space. The final paint job not only looked modern and refreshed but also provided a durable finish that has withstood the test of time.
In another example, a commercial property manager was tasked with repainting an office building. The building had seen years of neglect, and the walls were marked by stains and surface imperfections. A professional team was hired to conduct a thorough inspection, followed by cleaning, patching, and priming. The result was a bright, professional appearance that reinvigorated the workspace and reduced the need for frequent touch-ups, demonstrating the long-term value of proper wall preparation.
Conclusion
Wall preparation and repair are foundational steps in any painting project, directly influencing both the appearance and longevity of the final result. From a thorough inspection and cleaning to repairing imperfections and applying primer, each phase is critical to creating a smooth, uniform surface that allows the new paint to perform at its best.
Neglecting these steps can lead to a host of problems—from peeling paint and uneven finishes to more significant structural issues that could necessitate costly repairs in the future. By investing time and effort in proper wall preparation, you not only enhance the aesthetic appeal of your space but also secure the durability of your investment.
Whether you’re a DIY enthusiast taking on a home project or a professional painter striving for excellence, understanding and executing comprehensive wall preparation is key. In the end, the extra effort put into preparing the walls is reflected in a high-quality, long-lasting paint job that stands the test of time, ensuring that your space remains beautiful and well-protected for years to come.