When it comes to painting a room, the final result is often judged by its appearance, longevity, and overall quality. However, one of the most critical—and sometimes overlooked—components of a successful paint job is proper wall preparation. Investing time and effort in wall preparation not only ensures a flawless finish but also significantly extends the life of your paint. In this article, we’ll explore the importance of wall preparation, detail the essential steps involved, and explain how a well-prepared wall can make all the difference in both aesthetics and durability.
Understanding the Foundation of a Great Paint Job
Wall preparation is the process of readying a surface before painting. It encompasses everything from cleaning and repairing the wall to priming it for the best possible adhesion of the new paint. Think of it as laying a strong foundation for a house—if the foundation is shaky or flawed, even the most beautifully designed home will suffer from structural issues. Similarly, without proper wall preparation, even the highest-quality paint can fail to adhere correctly, leading to peeling, cracking, and premature wear.
A flawless finish isn’t just about choosing the right color or paint type; it’s about ensuring that the surface is in optimal condition to receive the paint. Proper wall preparation helps eliminate imperfections that could be accentuated by the new coat of paint and ensures that the color and texture of the paint appear consistent and vibrant across the entire wall.
The Key Steps in Wall Preparation
Wall preparation is a multi-step process that requires attention to detail and patience. Here are the essential steps involved:
1. Inspection and Assessment
Before any cleaning or repairs begin, it’s important to thoroughly inspect the wall. This initial assessment allows you to identify any problem areas such as cracks, holes, water damage, or peeling paint. Look for any signs of mold or mildew, especially in areas like kitchens and bathrooms. Understanding the condition of the wall will help you decide what repairs are necessary and which cleaning methods to employ.
2. Cleaning the Surface
A clean wall is crucial for paint adhesion. Dust, dirt, grease, and other contaminants can interfere with the bonding process between the paint and the wall. Cleaning usually involves the following steps:
- Dusting and Vacuuming: Remove loose dust and debris from the wall surface using a soft brush or vacuum cleaner with a brush attachment.
- Washing: Depending on the wall’s condition, a gentle wash with soap and water might be necessary. In kitchens or areas with significant grease buildup, a degreaser can be used to ensure all residues are removed.
- Drying: After cleaning, it’s essential to let the wall dry completely. Moisture can prevent paint from adhering properly and can lead to future issues such as mold growth.
3. Repairing Imperfections
Once the wall is clean, the next step is to address any imperfections. This may involve patching holes, filling cracks, and repairing any damage.
- Patching Holes and Cracks: Use spackle or joint compound to fill small holes and cracks. For larger holes, consider using a patch kit that includes a mesh or fabric backing to reinforce the repair.
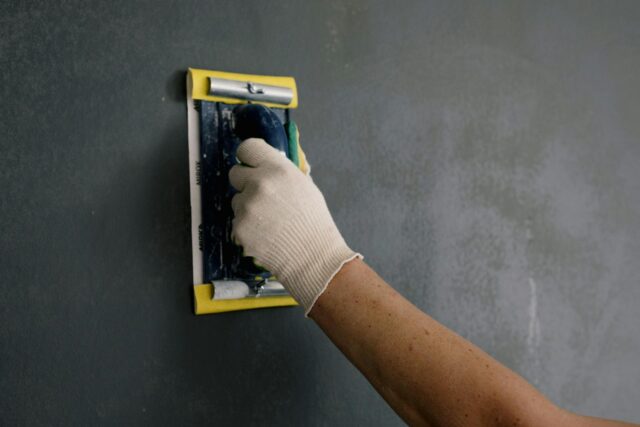
- Sanding: After the patching material has dried, sand the area until it is smooth and even with the rest of the wall. Sanding not only smooths out repairs but also creates a better surface for the paint to adhere to.
- Removing Loose Paint: Any areas of peeling or flaking paint should be scraped off using a putty knife or scraper. This step is crucial as old, loose paint can cause the new paint to bubble or peel away.
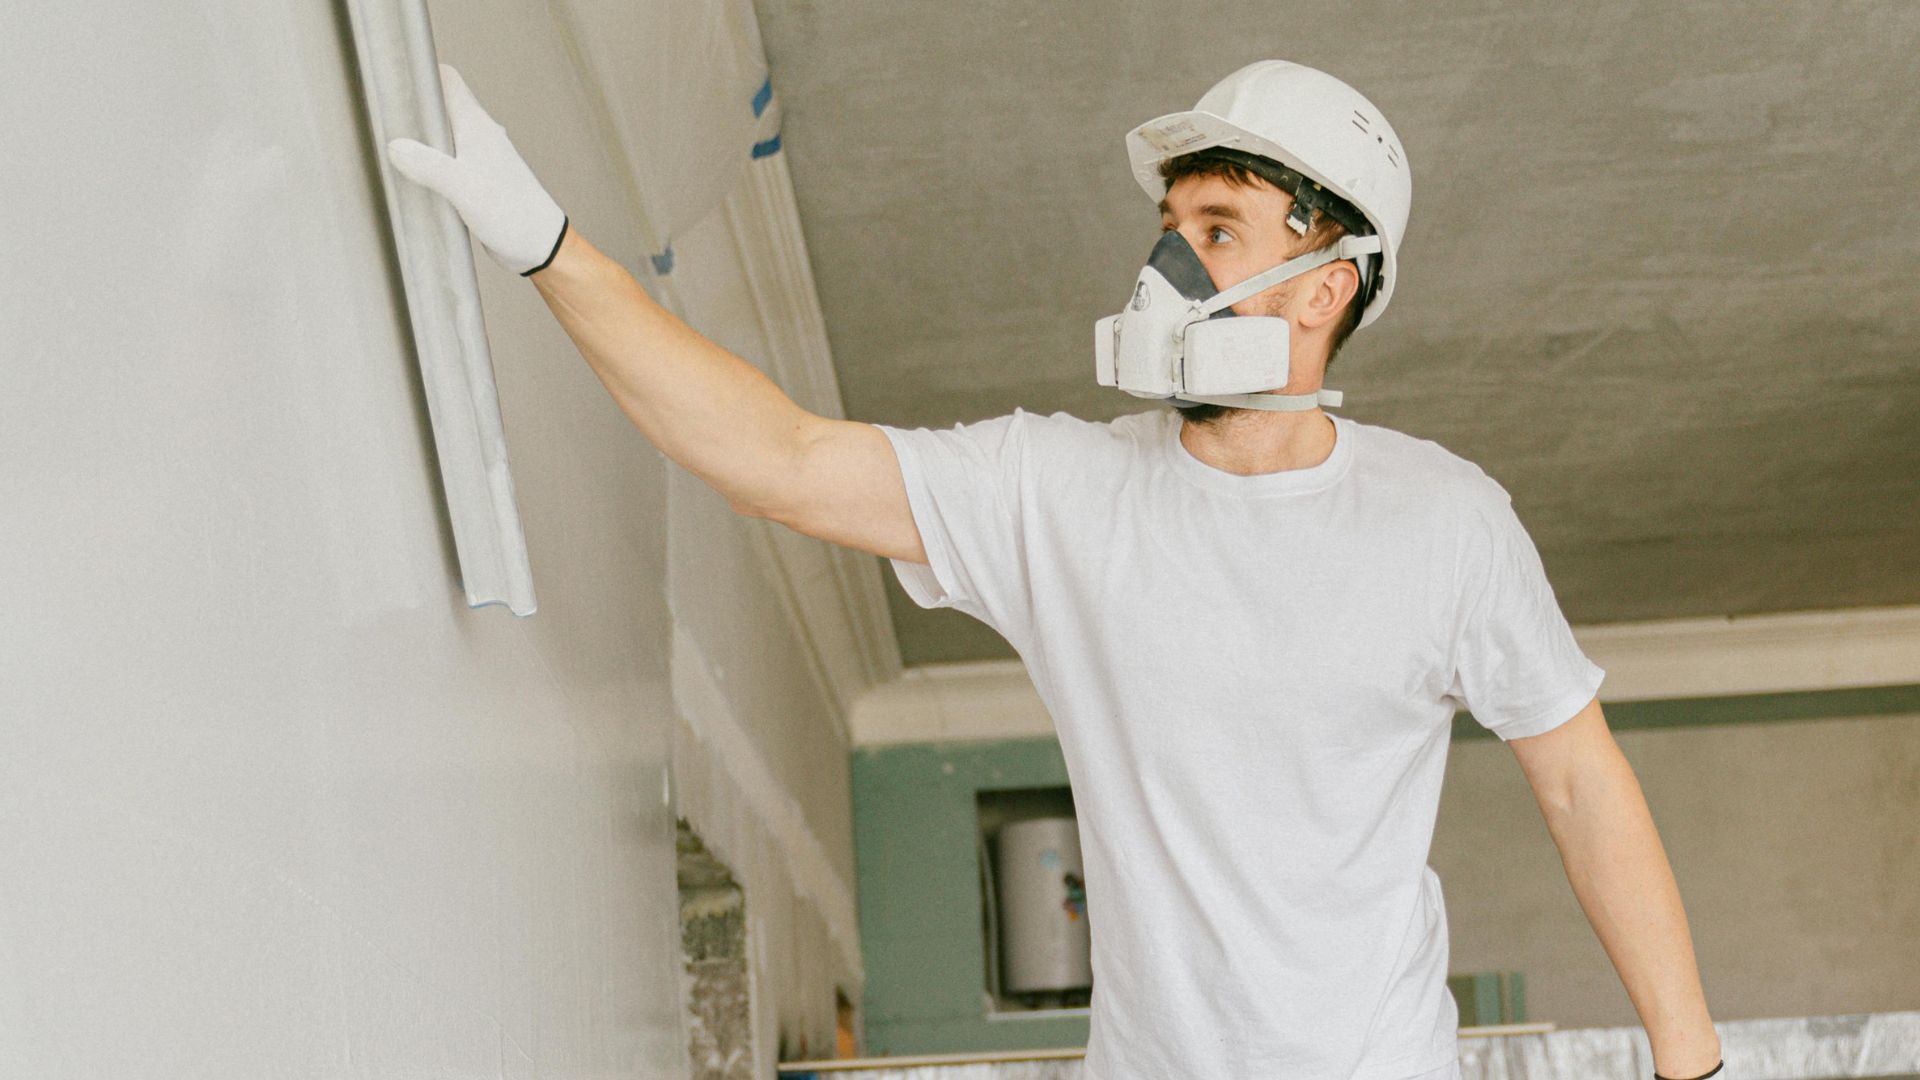
4. Priming the Wall
Priming is a critical step that many overlook. Primer acts as a bonding agent between the wall and the paint, ensuring that the paint adheres properly and evenly. It also helps to seal any repaired areas, preventing moisture from seeping in and causing further damage.
- Sealing Imperfections: A good primer will fill in the tiny imperfections and create a uniform surface, making the final paint job look smoother and more consistent.
- Improving Paint Adhesion: Primer improves the overall adhesion of the paint, reducing the risk of peeling and extending the life of the finish.
- Enhancing Color Depth: In cases where you are painting over a darker color or a surface with stains, primer can help ensure that the new color appears true and vibrant.
The Benefits of Thorough Wall Preparation
1. Aesthetic Excellence
The most apparent benefit of proper wall preparation is the visual improvement in the final result. Walls that have been carefully cleaned, repaired, and primed allow the paint to look its best. Colors appear more vibrant and consistent, and the texture of the wall remains smooth and even. When imperfections are addressed before painting, they don’t get accentuated by the new coat of paint, resulting in a more professional and polished look.
2. Enhanced Durability and Longevity
Proper wall preparation extends the life of your paint job. When paint is applied to a well-prepared surface, it adheres better and lasts longer. This means fewer touch-ups, less frequent repainting, and ultimately, cost savings over time. Paint that is allowed to adhere correctly is less likely to peel, crack, or fade prematurely.
3. Prevention of Future Problems
Skipping wall preparation can lead to a host of issues down the road. For example, if dirt or grease is left on the wall, it can interfere with paint adhesion, leading to peeling and flaking. Similarly, unaddressed cracks and holes can expand over time, compromising the structural integrity of the wall and making repairs more difficult and expensive in the future. By investing in proper wall preparation, you prevent these problems before they occur.
4. Improved Indoor Air Quality
Cleaning the walls thoroughly before painting not only improves paint adhesion but can also enhance indoor air quality. Removing dust, mold, and other contaminants ensures that harmful particles are not sealed behind the new layer of paint. This is particularly important in households with individuals who have allergies or respiratory issues.
5. Cost-Effectiveness
While it may seem that spending extra time on wall preparation adds to the overall cost of a painting project, it is actually a cost-effective measure in the long run. A well-prepared wall means a better paint job that lasts longer, reducing the need for frequent maintenance and repainting. The upfront investment in time and materials pays off by avoiding the high costs of future repairs and touch-ups.
The Consequences of Skipping Wall Preparation
Many DIY enthusiasts and even some professionals may be tempted to skip or rush the wall preparation process, especially when working on smaller projects or when deadlines are tight. However, the consequences of skipping proper wall preparation can be significant:
- Peeling and Flaking Paint: Without proper cleaning and priming, the new paint may not adhere well, leading to peeling and flaking soon after the job is completed.
- Uneven Finish: Imperfections like holes, cracks, and uneven textures become more pronounced once the paint is applied, resulting in a patchy and unprofessional appearance.
- Shortened Lifespan of Paint: Paint that is not properly adhered to the wall will deteriorate faster, requiring more frequent touch-ups or complete repainting.
- Increased Maintenance Costs: The initial savings from skipping wall preparation are often offset by the need for more frequent maintenance and repairs in the future.
Best Practices for Homeowners and Professionals
Whether you’re a homeowner tackling a DIY project or a professional painter, following best practices in wall preparation is essential. Here are some tips to ensure your wall preparation is thorough and effective:
- Take Your Time: Don’t rush the process. Investing time in cleaning, repairing, and priming will pay off in the final results.
- Use Quality Materials: Use high-quality patching compounds, sandpaper, and primers. Quality materials contribute to a better and longer-lasting finish.
- Follow Manufacturer’s Instructions: For cleaning agents, patching materials, and primers, always follow the manufacturer’s guidelines for application and drying times.
- Work in a Clean Environment: Minimize dust and debris in the work area during the preparation and painting process. Cover furniture and floors to protect them from dust and splatters.
- Consult Professionals if Needed: If the wall has extensive damage or you’re unsure about the best preparation methods, consult with or hire a professional. Their expertise can save time and ensure a superior finish.
Conclusion
In summary, the importance of wall preparation cannot be overstated. From ensuring a flawless, professional finish to extending the lifespan of your paint job and preventing future problems, proper wall preparation is the cornerstone of any successful painting project. It involves a meticulous process of inspection, cleaning, repairing, and priming that, while time-consuming, is well worth the effort.
A well-prepared wall not only enhances the aesthetics of your living space but also contributes to improved durability, cost savings, and even better indoor air quality. Whether you’re a homeowner looking to refresh your space or a professional painter aiming for excellence, investing in thorough wall preparation is the key to achieving a beautiful, lasting result.
By understanding and appreciating the critical role of wall preparation, you can ensure that every brushstroke contributes to a high-quality finish that stands the test of time. Remember, the secret to a successful paint job lies not just in the final coat of paint, but in the careful preparation of the surface beneath it.